 Bellingham
 New-Construction Windows for Columbia Homes
Columbia sits close enough to Bellingham Bay that salt-laden air, wind-driven rain, and long stretches of gray, damp weather are just part of owning a home here. When you're framing a new addition, finishing a build-out, or replacing windows down to the studs, the choice between new-construction and replacement windows isn't just paperwork — it changes how the window performs against this specific climate for the next twenty or thirty years.
New-construction windows have a nailing fin built into the frame, which gets fastened directly to the sheathing before siding and house wrap go on. Done right, that fin becomes part of a continuous drainage plane that carries water away from the rough opening instead of letting it pool. Done wrong — or installed by a crew that doesn't flash for this climate — it's one of the more common ways water finds its way into wall framing in Whatcom County, often without visible signs until rot or mold has already set in.
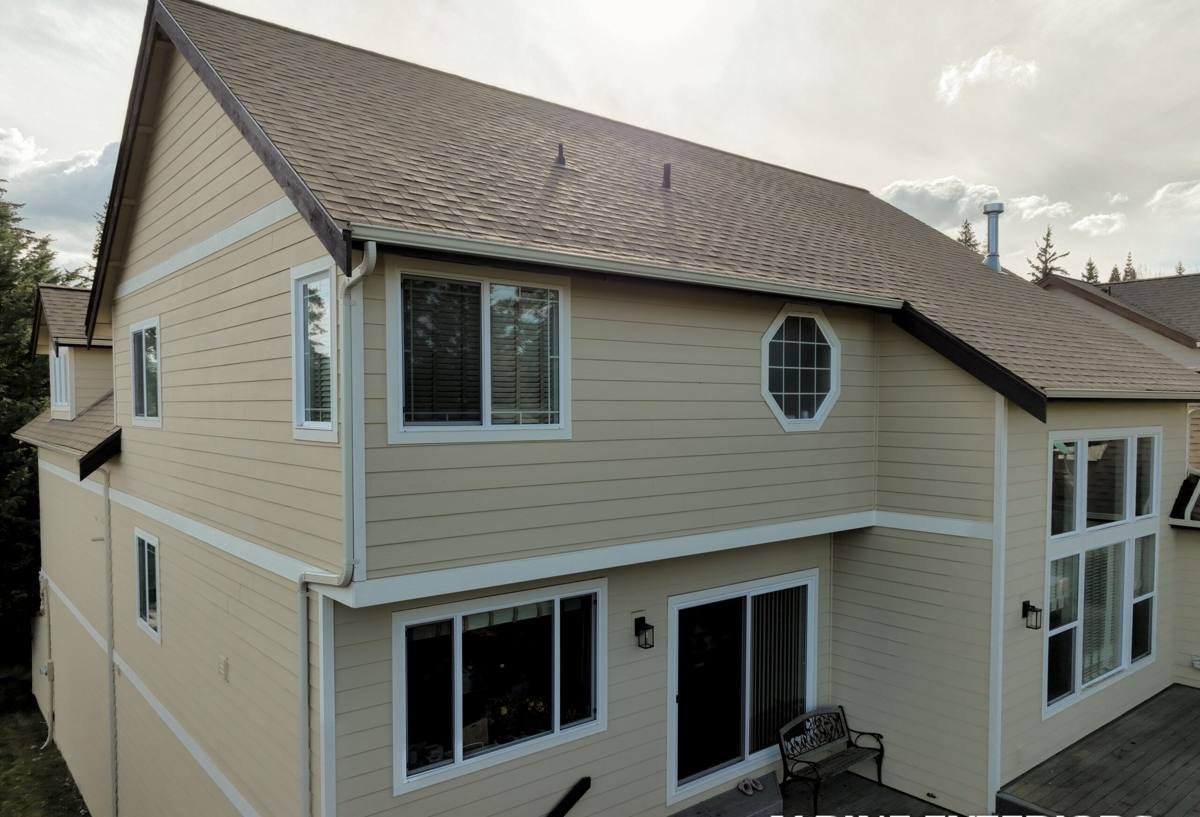
Why Columbia's Climate Matters for This Job
Bellingham gets a lot of rain, but it's the combination that matters most here: moisture that arrives sideways on a south or southwest wind, salt air that accelerates corrosion on hardware and fasteners, and moss and algae growth that thrives anywhere water sits or drainage is sluggish. A window opening that isn't flashed and sealed correctly the first time doesn't fail dramatically — it fails slowly, as water works past a gap in the weather-resistive barrier and into the wall cavity where nobody sees it until there's a stain, a soft spot, or a musty smell.
That's why new-construction window work in this neighborhood isn't just about setting a window plumb and level. It's about building a flashing and drainage sequence that assumes wind-driven rain will hit that opening repeatedly, every winter, for decades.
What Local Conditions Demand
- Corrosion-resistant fasteners and hardware rated for coastal/salt-air exposure, not standard interior-grade fittings
- Sill pans that create a positive slope to the exterior, so any water that gets past the window has somewhere to go
- Flashing tape and sealants rated for wide temperature and moisture swings, applied in the correct shingle-lap order
- Adequate roof overhangs or head flashing detail on exposed elevations, since wind can drive rain upward and sideways
- Drainage planes that stay continuous — no interruptions where the window opening meets the house wrap
What a Correct New-Construction Window Install Involves
New-construction installation happens before siding goes on, which is exactly why it's worth doing carefully — once the siding is up, most of this work is hidden for the life of the window. The sequence matters as much as the window itself.
The Core Steps
- Rough opening check. Confirm the opening is square, plumb, and sized correctly for the window unit before anything else happens.
- Sill pan flashing. A sloped, sealed pan at the bottom of the opening so incidental water exits to the exterior instead of sitting on the sill or draining into the wall.
- Jamb and head flashing. Flashing tape applied in proper shingle-style order — sill first, then jambs, then head — so each layer overlaps the one below it and water always sheds downward and out.
- Setting the window. Fastened through the nailing fin per the manufacturer's schedule, shimmed for square, and checked for smooth operation before it's sealed in.
- Integration with the weather-resistive barrier. The house wrap laps over the flashing at the top and sides in the correct order, keeping the whole drainage plane continuous around the opening.
- Interior and exterior sealant. Low-expansion foam or appropriate sealant at the interior gap for air sealing, with the exterior sealed per the window manufacturer's instructions to preserve the warranty.
Skipping or reordering any one of these steps is how a window that looks fine on install day becomes a moisture problem two or three winters later.
New-Construction vs. Replacement Windows
These two are often confused, but they solve different problems and get installed differently.
| Factor | New-Construction Windows | Replacement Windows |
|---|---|---|
| Best used for | New builds, additions, or projects where siding is coming off anyway | Swapping an existing window without disturbing exterior siding |
| Installation method | Nailing fin fastened to sheathing, full flashing integration | Fits inside the existing frame or opening, sealed at the perimeter |
| Access to structure | Full view of the rough opening and sheathing for inspection and flashing | Limited — existing framing and flashing largely stay hidden |
| Long-term drainage control | Highest — flashing plane is built fresh and fully continuous | Good, but dependent on the condition of existing flashing |
| Typical project context | New construction, additions, gut renovations | Window-only upgrades on an otherwise intact exterior |
If your Columbia project already has the siding open — an addition, a full renovation, or a rebuild after storm or moisture damage — new-construction windows are almost always the better long-term choice, because the crew can see and correct the flashing plane instead of working around it.
How Our Process Works
We start with a walkthrough of the rough openings and the project scope, whether that's a single addition or a full new build. From there:
- We confirm window sizes, styles, and glass packages against the plans and your budget before ordering
- We coordinate timing with your framer, siding crew, or general contractor so windows go in at the right point in the build sequence
- We flash and set each opening using the sequence above, with sill pans and shingle-lap flashing as standard practice, not an upgrade
- We photograph flashing details before they're covered by house wrap or siding, so there's a record of what's behind the wall
- We do a final walkthrough on operation, sealing, and cleanup once siding is complete
Because we work across Whatcom County, we're not guessing at what this climate does to a window opening over time — we're building to what we've seen hold up here and what we've seen fail.
Choosing Windows That Hold Up in Bellingham's Climate
Frame material and glass package matter alongside the installation itself. Vinyl frames with welded corners resist the moisture and temperature swings common here better than frames with mechanically fastened joints, which can open slightly over time and become entry points for water. For glass, a dual-pane unit with a warm-edge spacer and a low-E coating tuned for the Pacific Northwest's mix of overcast days and moderate winters is a solid baseline for most Columbia homes — it balances heat retention against condensation resistance without the added cost of a triple-pane package, which is usually only worth it on north-facing or highly exposed elevations.
A Few Honest Trade-Offs
Some frame and glass combinations look good on paper but create maintenance burdens in this climate. Darker exterior frame colors absorb more heat and can accelerate expansion and contraction at the seams. Wood-clad frames, while attractive, require more diligent sealant maintenance in a climate this wet — we'll walk you through the upkeep either option requires before you commit, rather than steering you toward whatever's easiest to install.
Signs the Job Wasn't Done Right (On Older Installs)
If you're evaluating windows already installed in a Columbia home — maybe as part of buying, or after a renovation done by someone else — a few warning signs are worth checking for:
- Staining or bubbling paint on interior trim below or beside a window
- A musty smell near window openings after heavy rain
- Visible gaps or missing sealant at the exterior trim
- Moss or algae buildup concentrated around a specific window rather than the whole wall
- Soft or spongy siding or trim near a window edge
Any of these can point to a flashing sequence that wasn't done correctly, and it's worth having it looked at before it turns into a larger repair.
Why Local Experience Matters
A window installed to a generic national standard will often meet code. A window installed by a crew that's worked Columbia's specific mix of salt air, driving rain, and moss season is built to actually perform here, not just pass inspection. That difference shows up ten and twenty years down the road — in whether the sheathing behind that window is still dry, and whether the frame and hardware have held up against the coastal exposure rather than corroding or seizing early.
If you're planning a new build, an addition, or a renovation in Columbia and want windows installed the right way from the framing stage forward, we're happy to walk the site, look at your plans, and give you a straightforward, no-pressure estimate. Use the form below to get started.