 Bellingham
 What Lynden Homes Are Actually Up Against
Lynden sits inland from Bellingham Bay, but "inland" in Whatcom County doesn't mean dry. The same marine weather pattern that soaks the coastline pushes east across the county in the form of long, low-intensity rain events that can last for days. Add the shade from mature trees on many Lynden lots, morning fog off the Nooksack River valley, and a stretch of gray months where surfaces rarely get a full day of direct sun, and you get ideal conditions for moss, algae, and moisture creep on anything but the most weather-resistant siding.
Homes closer to Bellingham Bay deal with salt-laden air that accelerates corrosion on fasteners and metal trim. Lynden gets less of that direct salt exposure, but it still sits inside the same maritime climate zone — humid, mild, and wet more months than not. That combination doesn't destroy siding quickly. It wears it down slowly, which is exactly why so many homeowners don't notice a problem until paint is peeling, boards are swelling, or moss has taken hold along the lower courses and butt joints.
Siding installation done right in this climate isn't about picking a material that looks good on day one. It's about picking a system that holds up through repeated wet-dry cycles, resists moisture intrusion at the seams, and keeps its finish without constant upkeep.
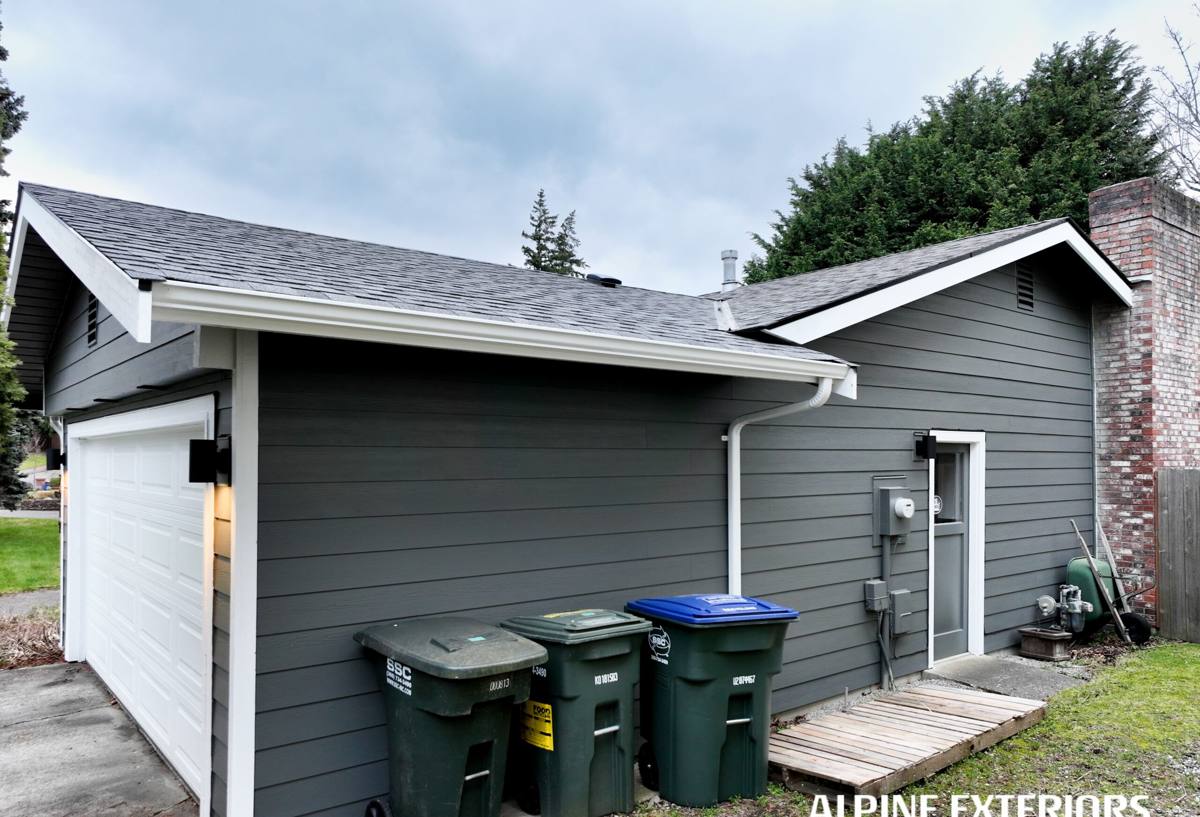
Why the Installation Matters as Much as the Material
Even the best siding product fails early if it's installed wrong. In a climate like Whatcom County's, installation mistakes don't show up right away — they show up two, five, or ten years later, after moisture has had time to work its way behind the cladding. The most common failure points we see on re-siding jobs in this area include:
- Siding installed tight to the ground or hardscape with no clearance, wicking moisture up from grade
- Missing or poorly lapped weather-resistive barrier behind the siding
- Butt joints and seams not properly flashed or sealed, letting wind-driven rain track behind the boards
- Fasteners driven at the wrong depth or spacing, causing boards to crack, cup, or work loose over time
- No rainscreen gap on walls that need one, trapping moisture against the sheathing
- Trim and flashing details around windows, doors, and rooflines left as an afterthought
Every one of these is preventable. None of them are visible from the street once the job is finished — which is exactly why the crew doing the work matters more than the brand on the invoice.
Our Siding Installation Process
1. On-Site Assessment
We start by walking the home in person, not from a photo or a quick drive-by. We check the condition of the existing siding and sheathing, look for evidence of past moisture damage around windows, doors, and roof transitions, and assess how the home's orientation, tree cover, and drainage affect its exposure.
2. Tear-Off and Substrate Check
Once old siding comes off, we inspect the sheathing underneath. Any soft, rotted, or water-damaged material gets identified and addressed before anything new goes up — covering a compromised substrate with new siding just hides a bigger problem.
3. Weather Barrier and Drainage Plane
A properly lapped weather-resistive barrier goes on next, integrated with window and door flashing so water is directed out and away from the wall assembly, not trapped behind it. Where the wall assembly calls for it, we install a rainscreen gap to let any incidental moisture drain and the wall breathe.
4. Installation to Manufacturer Spec
Fastening pattern, nail depth, board spacing, and joint treatment all follow the manufacturer's published installation requirements — not a shortcut version of them. This is also what keeps a manufacturer's warranty intact; siding installed off-spec can void warranty coverage even if the product itself is sound.
5. Trim, Caulking, and Final Detail
Corners, trim boards, and penetrations get sealed with products rated for this climate. We finish with a final walk-through so the homeowner can see the completed work before we consider the job done.
Why We Install Only James Hardie Fiber Cement
We install one siding system: James Hardie fiber cement. That's not a marketing preference — it's a standard we hold because of what this climate does to alternatives over time.
Fiber cement is non-combustible, dimensionally stable, and doesn't absorb and release moisture the way wood-based or engineered wood products do. James Hardie's HZ5 product line is engineered specifically for climates with freeze-thaw cycles and sustained moisture exposure, which describes a typical Whatcom County winter well. The factory-applied ColorPlus finish is baked on under controlled conditions, which gives it far better adhesion and fade resistance than field-applied paint — meaning fewer repaint cycles over the life of the siding, and a cleaner look through the mossy months when other finishes start to show streaking and biological growth.
We don't install vinyl, LP SmartSide, Cemplank, Allura, primed spruce, or cedar. Each of those has legitimate uses elsewhere, but each also comes with trade-offs — moisture sensitivity, seam and joint vulnerability, finish maintenance, or long-term warranty structure — that we're not willing to put our name behind in this climate. Hardie is the system we've standardized on because it holds up to the specific conditions Lynden homes face, and because its transferable warranty gives homeowners real backing if something does go wrong.
How Common Siding Materials Compare in This Climate
| Material | Moisture Behavior | Finish Durability | Typical Maintenance |
|---|---|---|---|
| James Hardie Fiber Cement (HZ5) | Dimensionally stable, resists swelling | Factory ColorPlus finish, long fade resistance | Occasional wash; repaint cycle much longer than wood |
| Cedar | Absorbs moisture, prone to cupping and rot without diligent upkeep | Field-applied finish wears faster in wet climates | Regular staining/sealing, moss and mildew treatment |
| Primed Spruce/Wood Composite | Vulnerable at cut edges and joints if not sealed perfectly | Depends entirely on paint quality and upkeep | Frequent inspection and repainting |
| Vinyl | Doesn't rot, but can warp, crack in cold snaps, and trap moisture behind panels | Color molded in, but fades and chalks over time | Low, but panel damage is common and hard to color-match |
What a Correct Job Should Include
Whether you hire us or someone else, this is the checklist we'd want a homeowner to hold any siding contractor to on a Lynden project:
- A physical, in-person inspection before any bid is written
- Sheathing checked and repaired before new siding goes on, not covered up
- A properly lapped, integrated weather-resistive barrier
- Flashing at every window, door, and roofline transition
- A rainscreen or drainage gap where the wall assembly calls for one
- Manufacturer-specified fastening — correct nail type, depth, and spacing
- Proper clearance between siding and grade, decks, and patios
- A written scope that names the exact product line and finish being installed
- A walk-through at completion, not just an invoice
Cost Factors for a Lynden Siding Installation
Every home is different, but the same handful of factors drive most of the cost variation we see on siding jobs in this area:
| Factor | Why It Matters |
|---|---|
| Existing wall condition | Rotted or damaged sheathing found during tear-off adds repair scope before new siding can go on |
| Home size and wall complexity | More corners, dormers, and roof transitions mean more flashing detail and labor time |
| Siding profile and trim package | Lap width, shingle-style accents, and trim detail affect both material and install time |
| Access and site conditions | Tight lots, mature landscaping, or multi-story walls affect scaffolding and staging needs |
| Tear-off vs. new construction | Removing and disposing of old siding adds labor that new-build installs don't have |
We'll always walk a home in person before giving a number — a phone estimate on siding is a guess, not a bid.
Why Hiring a Crew That Already Works in Lynden Matters
Whatcom County isn't uniform. A crew that mostly works tighter, more sheltered lots closer to Bellingham may not think as carefully about the drainage, tree cover, and exposure patterns typical of Lynden's more open, agricultural surroundings. A crew that regularly works this area already understands how local lot layouts, drainage, and shade patterns affect where moisture collects on a wall, and adjusts flashing, ventilation, and rainscreen decisions accordingly instead of applying a one-size-fits-all install.
Familiarity also matters for practical reasons — knowing which suppliers stock the right Hardie profiles and colors without a long wait, understanding typical permitting expectations for the area, and having a track record other Lynden homeowners can actually ask about.
After Installation: Keeping Siding Performing Long-Term
Fiber cement installed correctly needs far less attention than wood or engineered alternatives, but "less" isn't "none." A periodic rinse to knock down moss and pollen buildup, a visual check of caulking at trim and penetrations every year or two, and prompt attention to any landscaping that's grown up against the wall will keep a Hardie installation performing the way it's designed to for decades. None of that requires a contractor visit — it's the kind of upkeep any homeowner can handle in an afternoon.
If your Lynden home's siding is showing its age, or you're planning ahead for a replacement, we're happy to take a look and give you a straight, no-pressure assessment of what it actually needs. Use the form below to request a free estimate.