 Bellingham
 New-Construction Windows Are a Different Job Than a Replacement
New-construction windows go into a house that doesn't exist yet — or at least doesn't have finished siding and interior trim yet. That sounds like it should make the job easier than a replacement, and in some ways it does: there's no old window to remove, no rot to find once the trim comes off, no guessing what's hiding in the wall. But it also means the window installer is working directly with the framing crew's rough openings, the weather-resistive barrier (WRB, commonly called house wrap), and the flashing sequence that determines whether that window leaks in year three or stays dry for thirty years.
On a build in Blaine, that flashing sequence matters more than it would somewhere inland. Blaine sits right on the water near the Canadian border, and homes there catch wind-driven rain off the bay along with a steady dose of salt air. Whatcom County isn't a dry climate to begin with, and the waterfront exposure in Blaine specifically adds two things a lot of new-construction crews don't plan for correctly: corrosion-prone hardware and near-constant moisture loading on the building envelope during the framing-to-dry-in window.
Flanged vs. Block-Frame Windows
Most new-construction windows in this region are nail-fin (flanged) units — they have a flange around the perimeter that gets integrated into the WRB and flashing system before siding goes on. Some higher-end builds use block-frame or "receptor" windows that sit differently in the rough opening. Either way, the window itself is only half the job. How it ties into the wall assembly is what actually keeps water out, and that's where we spend most of our attention.
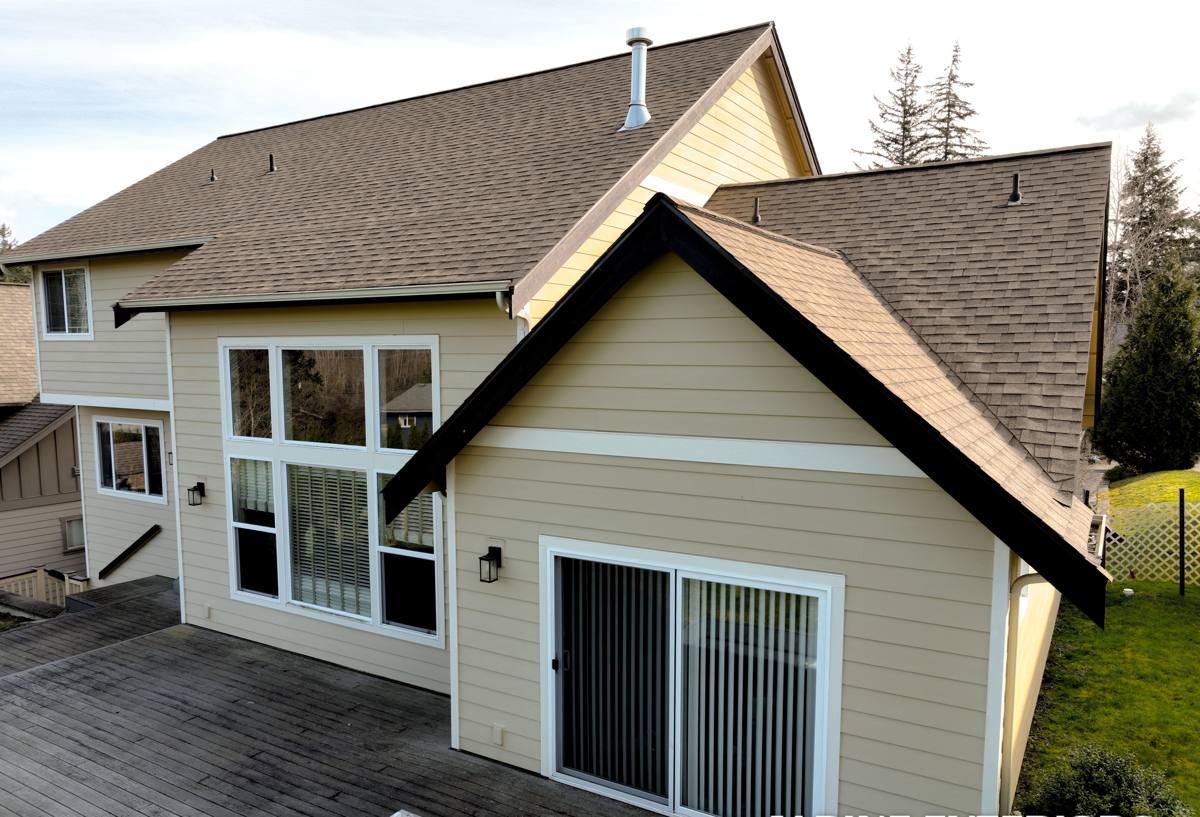
Why Blaine's Coastal Climate Changes the Install
A window that's correctly installed in a dry inland town can still fail early in Blaine if the install doesn't account for the local conditions. Three things specifically change how we approach a new-construction job out there:
- Salt air: Airborne salt accelerates corrosion on fasteners, hardware, and unprotected metal flashing. We spec corrosion-resistant fasteners and flashing components for waterfront-adjacent builds rather than using whatever's standard inland.
- Driving rain: Wind off the water pushes rain sideways into wall assemblies, not just straight down. That means sill pan flashing and proper shingle-lap sequencing (each layer overlapping the one below, never the reverse) aren't optional details — they're the difference between a dry wall cavity and a slow leak nobody notices until there's damage.
- A long moss season: Whatcom County's wet stretch runs long, and moss and algae take hold on anything that stays damp — trim, sills, and siding around window openings included. That's less about the install itself and more about what finish materials and drainage details we choose so the window doesn't become a moss trap five years down the road.
The Install Sequence That Actually Keeps Water Out
There's a right order to install a new-construction window, and skipping or reversing a step is the single most common cause of early window leaks — far more often than the window unit itself failing. Here's the sequence we follow:
Flashing Order, Start to Finish
- Inspect and, if needed, correct the rough opening — square, level, and properly sized before anything else happens.
- Install a sloped sill pan so any water that gets past the window has somewhere to drain, not somewhere to pool.
- Apply back-dam and side flashing tape that laps correctly with the WRB already on the wall.
- Set the window, shim it plumb and square, and fasten per the manufacturer's schedule — not a generic one.
- Flash the head and sides so each layer overlaps the one below it, shedding water down and out rather than trapping it behind the flange.
- Integrate the top flashing with the WRB above the opening before siding or trim goes on.
- Seal only where the manufacturer's instructions call for sealant — over-sealing a flanged window can trap moisture instead of keeping it out.
That last point trips up a lot of people, including some experienced trades. The instinct is to caulk everything for good measure. But a nail-fin window is designed to shed water through a specific drainage path, and sealing the wrong spot can block that path and hold water against the frame instead.
Choosing a Frame Material for a Waterfront-Adjacent Build
Frame material matters more in Blaine than it would twenty miles inland, mostly because of salt air and sustained moisture exposure. There's no single right answer for every project — it depends on budget, the home's design, and how much upkeep the owner wants to do.
| Frame Material | Salt-Air / Moisture Behavior | Maintenance | Typical Trade-Off |
|---|---|---|---|
| Vinyl | Doesn't corrode or rot; performs well in coastal air | Low — occasional cleaning | Lower upfront cost; fewer custom color/finish options |
| Fiberglass | Very stable in wet, salty conditions; low expansion/contraction | Low | Higher upfront cost than vinyl; strong long-term value |
| Wood-clad | Exterior clad protects the wood, but any breach in the cladding invites rot faster in this climate | Moderate to high — cladding seams need periodic inspection | Interior wood look; more sensitive to installation quality |
| Bare wood | Most exposed to Blaine's moisture and moss conditions | High — regular refinishing needed | Traditional appearance; shortest service life on exposed elevations near the water |
We don't push one brand or material on every job. What we do push is matching the frame to how exposed that particular elevation of the house is — a north-facing wall catching driving rain off the bay is a different conversation than a sheltered courtyard-facing window on the same house.
Our Process on a Blaine New Build
We work new-construction windows into the build schedule the same way any framing-adjacent trade does — timing matters, and so does communication with the general contractor.
1. Plan and Rough Opening Review
Before windows arrive, we review the window schedule against the framed rough openings. Catching a sizing or squareness issue here is far cheaper than catching it after windows are on-site.
2. Coordinate With the WRB Timeline
Windows need to go in after the WRB is up but before siding starts, and the flashing has to integrate cleanly with both. We coordinate directly with the framing and siding crews so nothing gets sequenced wrong or rushed.
3. Install and Document
We follow the manufacturer's installation instructions for that specific product — every brand has its own fastening schedule and flashing requirements, and following them is what keeps the manufacturer's warranty intact. We also document flashing details before they get covered by siding, so there's a record of what's behind the wall.
4. Final Check
Before we call a job done, we check operation, seal lines, and sightlines on every unit — not just a sample.
Mistakes We See on Waterfront-Adjacent New Builds
These aren't knocks on any particular product or crew — they're honest, common gaps that show up more often on builds that weren't planned with Blaine's exposure in mind:
- Standard inland flashing details used on an exposed elevation. A flashing sequence that's adequate in a sheltered inland lot can be undersized for a wall that takes direct wind-driven rain off the water.
- Fasteners and hardware not rated for salt-air exposure. Standard galvanized fasteners can corrode faster near the water than they would elsewhere in the county.
- Over-sealing the flange. As covered above, sealing the wrong part of a nail-fin window can trap water instead of shedding it.
- No sill pan. Skipping the sloped sill pan is one of the most common shortcuts on new builds, and it removes the one backup drainage path a window has if water does get past the primary seal.
What to Confirm Before Your Windows Go In
Whether you're a homeowner working with a builder or a builder bringing in a window sub, this is worth confirming before installation starts:
- Rough openings are square, level, and sized to the actual window schedule — not assumed from plans
- Sill pan flashing is included on every opening, not just the most exposed ones
- Flashing tape and any exposed metal components are rated for coastal/salt-air use
- The install follows that specific window manufacturer's instructions, not a generic sequence
- Flashing integration with the WRB is documented or photographed before siding covers it
- Sealant is applied only where the manufacturer specifies — not as a blanket precaution
Living With New Windows Through Blaine's Moss Season
A correctly installed new-construction window shouldn't need much attention, but the surrounding trim and sill area in a climate this wet does benefit from basic upkeep:
- Rinse pollen, salt residue, and organic buildup off sills and trim a couple of times a year
- Keep gutters and downspouts clear so roof runoff isn't dumping extra water onto window heads
- Check exterior caulk lines annually — not to add more, but to catch cracking or separation early
- Trim back vegetation that keeps window trim shaded and damp, which is what invites moss growth in the first place
Why Hire a Bellingham Crew That Already Works Blaine
Window manufacturers write their installation instructions for a general climate. They don't write a separate version for a lot that catches wind off Semiahmoo Bay or Drayton Harbor. That's the gap a local crew fills — we've installed enough new-construction windows around Whatcom County to know which elevations need extra flashing attention, which fasteners hold up to salt air over the long run, and which shortcuts that pass fine in a drier climate don't hold up here.
Being based in Bellingham also means we're not driving in from out of the area for a punch-list callback. If something needs a second look during the build, or a warranty question comes up down the line, we're local.
If you're planning new-construction windows for a build in Blaine, we're happy to walk the plans or the framed openings with you and give you a straight answer on what the job needs — no pressure, no upsell. Reach out using the form below for a free estimate.