 Bellingham
 Windows Built for Birchwood's Weather, Not Just Its Style
Birchwood sits close enough to the water and low enough in the fog belt that its homes take a specific kind of beating year-round. Salt-laden air off Bellingham Bay works into aluminum frames and fasteners. Driving rain off winter storms tests every seal and flashing detail a window has. And the long stretch of gray, damp months each year gives moss and mildew months to establish themselves on sills, tracks, and anything with a horizontal surface. A window that looks fine in a showroom in Arizona can fail here in five years if it wasn't chosen and installed with this climate in mind.
We've worked enough homes in and around Birchwood to know which failure patterns show up first: fogged double-panes from broken seals, wood sills gone soft under peeling paint, vinyl frames that have chalked and warped on the south and west exposures, and sliding tracks packed with moss and grit that keep the sash from closing tight. None of that is really a "your windows are old" problem. It's a "your windows were never matched to this climate" problem, and it's fixable with the right products and the right installation detail.
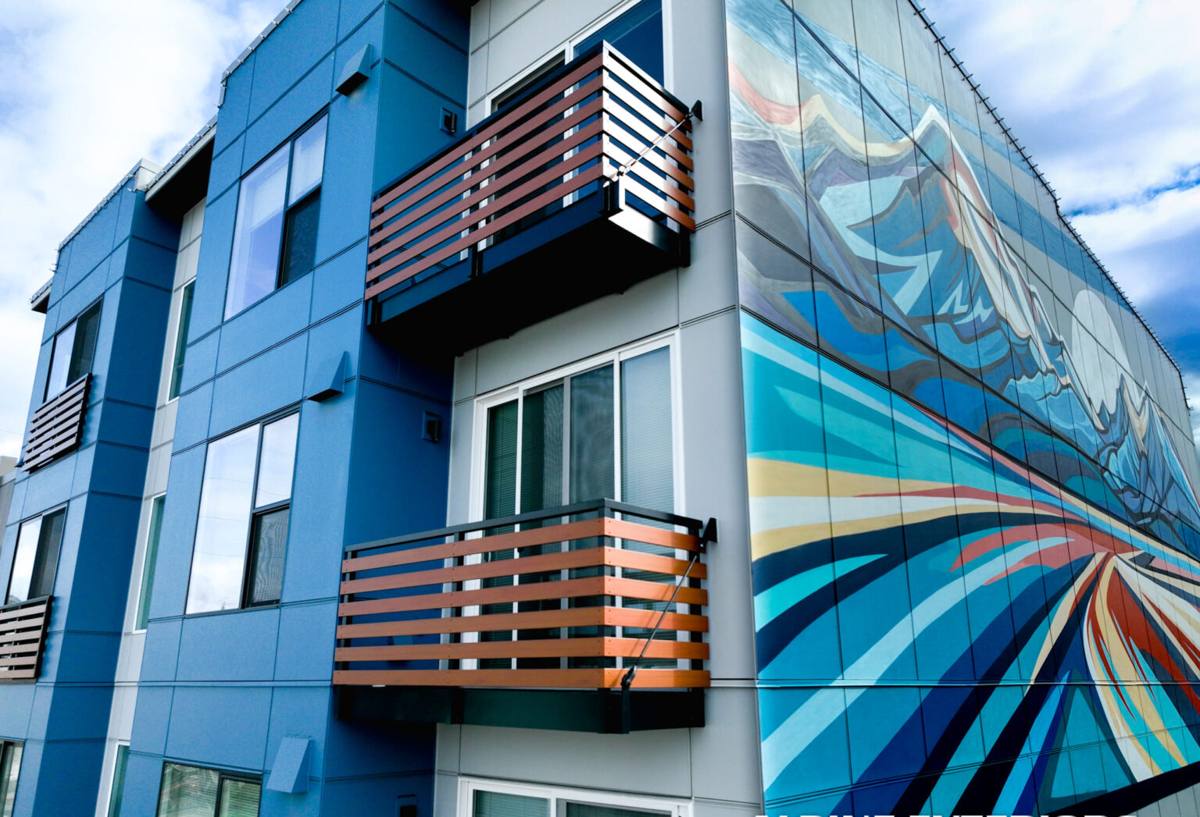
What Whatcom County's Climate Actually Demands From a Window
Moisture Management Is the Whole Game
Whatcom County doesn't get brutal cold or blistering heat. What it gets is sustained moisture — weeks of drizzle, fog off the bay, and rain that comes in sideways during winter systems. A window's job here isn't primarily insulation, it's managing water: keeping it out of the wall cavity, letting condensation drain instead of pool, and using materials that don't rot, corrode, or grow mold when they stay damp for days at a stretch.
Salt Air Accelerates Corrosion
Proximity to Bellingham Bay means airborne salt settles on hardware, screws, and any exposed metal. Untreated or lower-grade fasteners and hinges corrode faster here than they would twenty miles inland. That's a hardware and installation-detail issue as much as a glass issue.
Moss and Organic Growth
The same damp conditions that are good for the region's greenery are good for moss and mildew on window sills, exterior trim, and tracks. Anything with a flat or grooved horizontal surface that doesn't shed water quickly becomes a place for growth to take hold, which then holds moisture against the frame and speeds up deterioration underneath it.
Choosing the Right Window for a Birchwood Home
There isn't one "best" window for every house — it depends on the home's age, exposure, and your budget. But for this climate, a few factors matter more than brand names or marketing claims.
| Factor | Why It Matters Here | What We Look For |
|---|---|---|
| Frame material | Salt air and moisture cycle frames through expansion, contraction, and corrosion | Fiberglass or quality vinyl with UV- and moisture-stable formulations; well-clad wood where appearance calls for it |
| Glass package | Consistent damp cold favors low-E coatings and warm-edge spacers over raw R-value chasing | Dual-pane low-E as a baseline, with warm-edge spacer systems to resist seal failure |
| Weep system design | Standing water in the sill leads to rot and mold | Clear, unobstructed weep holes and a sill pan that actually drains |
| Hardware and fasteners | Salt air corrodes standard-grade hardware faster | Corrosion-resistant hinges, locks, and screws rated for coastal exposure |
| Exterior finish | Sun/rain cycling causes chalking, fading, and cracking over time | Finishes with a track record in wet coastal climates, not just national averages |
We're honest with homeowners about trade-offs. A very low-cost vinyl window might be fine for a rental property with a short hold, but it's usually the wrong call for a primary residence where you want twenty-plus years out of the investment. On the other end, an all-wood exterior in an exposed, weather-facing wall is going to demand more upkeep here than the same window on a sheltered elevation — that's not a knock on wood, it's just physics, and we'd rather tell you that up front than sell you something that needs repainting every three years.
What a Correct Installation Actually Involves
The window unit itself is maybe half the job. The other half — and often the half that determines whether you get 10 years or 30 out of the installation — is the flashing and sealing detail around it. This is where most problems we get called out to fix actually originate.
- Remove the old unit and inspect the rough opening. This is the point where hidden rot, soft framing, or old flashing failures get found — better now than after a new window is sealed over them.
- Repair or rebuild the opening as needed. Any compromised framing or sheathing gets addressed before anything new goes in. Installing a new window into a wet or rotten opening just hides the problem for a while.
- Install a sill pan flashing. This creates a drainage path so any water that gets past the window sheds back outside instead of soaking into the wall assembly.
- Set the window level, plumb, and square. An out-of-square frame stresses seals and hardware and is often why sashes start binding within a couple of years.
- Integrate flashing tape with the water-resistive barrier. Proper shingle-lap sequencing (so upper layers overlap lower ones) is what actually keeps wind-driven rain from finding its way behind the siding.
- Insulate the gap around the frame properly. Overpacking with rigid foam can bow a frame out of square; underfilling leaves drafts and condensation points. It's a detail that's easy to get wrong and hard to notice until years later.
- Seal and caulk the exterior with a product rated for this climate. Not all sealants hold up to constant damp-dry cycling — we use products suited to sustained coastal moisture exposure, not just a general-purpose tube from the shelf.
- Test operation and drainage before calling the job done. Every sash gets opened, closed, and checked, and we confirm the weep system is actually clear and functioning.
Signs a Birchwood Home's Windows Need Attention
- Fogging or haze between panes — the seal has failed and the gas fill is gone
- Visible moss, algae, or dark staining on sills or bottom rails
- Paint peeling or wood feeling soft when pressed near the sill or corners
- Drafts you can feel with a hand near the frame on a windy day
- Sashes that stick, drag, or won't latch fully closed
- Condensation forming on the inside of the glass regularly, even in mild weather
- Visible corrosion or discoloration on hinges, locks, or cranks
- A musty smell near the window that doesn't clear with ventilation
Any one of these on its own might be minor. Several showing up together, especially on the same wall or exposure, usually points to a systemic moisture or installation issue rather than a single bad window.
Why Local Experience on Birchwood Homes Matters
A crew that's worked this specific area knows which exposures take the worst of the driving rain, which construction eras in the Bellingham area are prone to certain flashing shortcuts, and which details actually hold up after a few winters of Whatcom County weather rather than just looking good on install day. That's different from general window-installation experience. A national installer working from a generic spec sheet may not adjust for the fact that a west-facing wall here needs a different sealing approach than the same wall would in a drier inland climate.
We also know that Bellingham's mix of older character homes and newer construction means no two Birchwood-area jobs look the same. An older home might need custom sizing to fit an opening that's slightly out of square after decades of settling. A newer home might already have decent bones but poor-quality original windows that were never suited to bay-adjacent exposure. Treating every job as the same cookie-cutter install is how corners get cut.
Cost Factors Worth Understanding Before You Decide
We don't publish blanket pricing because window jobs vary too much by size, quantity, access, and condition of the existing opening — but here's what actually drives cost up or down on a typical Birchwood-area project:
| Factor | Effect on Cost |
|---|---|
| Number of openings replaced at once | Doing multiple windows in one visit reduces per-unit labor and setup cost |
| Frame material chosen | Vinyl is generally the most budget-friendly; fiberglass and wood-clad options cost more upfront but can offer longer service life in this climate |
| Condition of the rough opening | Hidden rot or framing damage found during removal adds repair time before the new window goes in |
| Custom sizing | Older or settled homes often need custom-built units rather than stock sizes, which adds cost but is often the only way to get a proper seal |
| Access and site conditions | Second-story, tight-access, or difficult-terrain openings take more time and equipment |
| Glass and hardware upgrades | Higher-performance low-E glass or upgraded coastal-rated hardware adds modest cost for meaningfully better durability here |
We'd rather walk your specific home and give you real numbers than throw out a broad range that doesn't reflect your actual openings.
Maintenance That Actually Extends Window Life Here
Even a well-chosen, well-installed window benefits from a little seasonal attention in this climate. A few habits go a long way:
- Clear moss and debris from sills and tracks a couple of times a year, especially heading into and coming out of the wettest months
- Check and clean weep holes so water has a clear path to drain out
- Inspect exterior caulking annually and touch up any cracked or separated sections before it becomes a leak path
- Wipe down hardware occasionally to keep salt residue from accelerating corrosion
- Watch for condensation patterns that change over time — that can be an early signal of a developing seal or ventilation issue
Our Process, Start to Finish
We keep the process straightforward because homeowners have enough going on without a confusing scope of work. We start with an on-site walk-through of the openings in question, looking at exposure, current condition, and what's actually driving the problem — not just measuring for a quote. From there we talk through frame and glass options suited to your specific walls and budget, not a one-size pitch. Once you approve a plan, we handle removal, any necessary opening repair, proper flashing and sealing, installation, and a final operational check before we consider the job finished. We stand behind the installation work, separate from whatever manufacturer warranty comes with the windows themselves.
If you're weighing whether it's time to replace windows on a Birchwood-area home, or you just want a straight answer about what's actually going on with the ones you have, we're happy to take a look. Reach out for a free, no-pressure estimate — there's a form below to get started.