 Bellingham
 New-Construction Windows for Happy Valley's Additions, ADUs, and Infill Builds
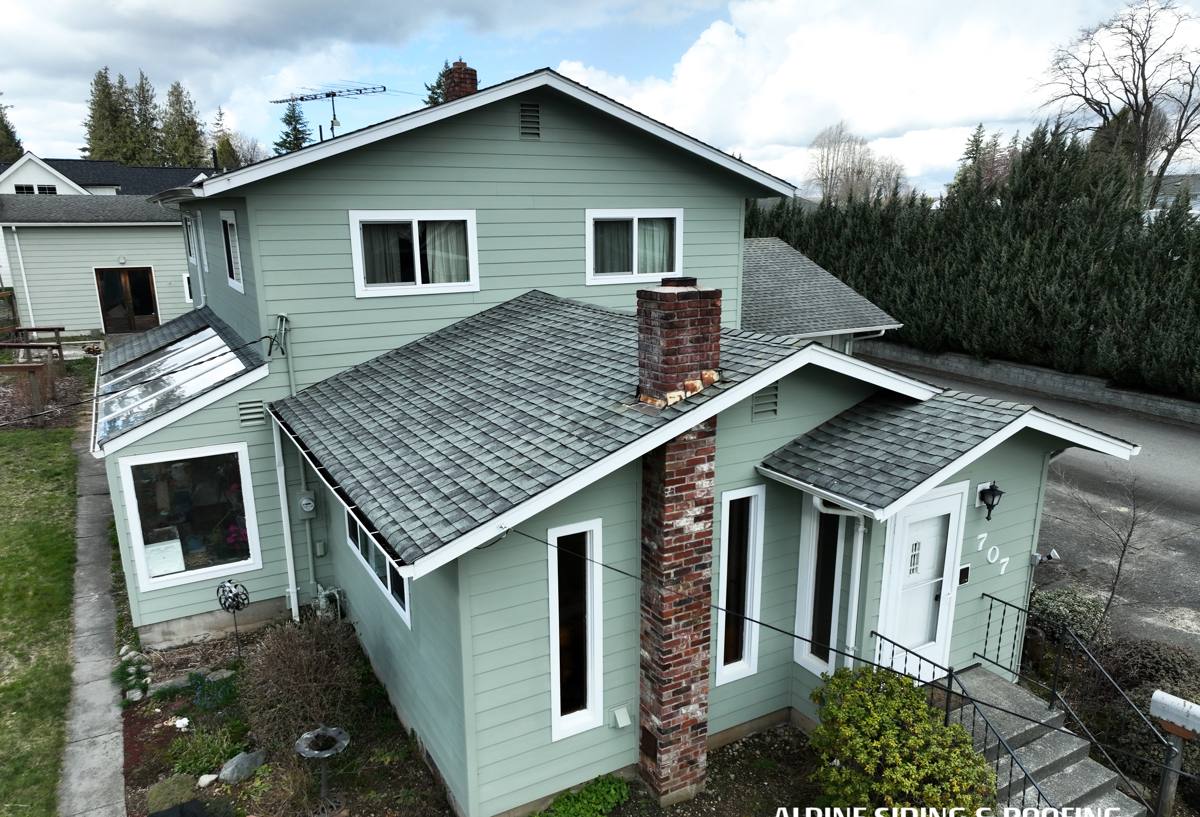
Happy Valley isn't a subdivision full of identical new homes going up on cleared acreage. Most of the new-construction window work we do in this Bellingham neighborhood happens on established, tree-covered residential lots: a second story added onto an existing house, a detached ADU tucked into a side or back yard, a torn-down-and-rebuilt home on a lot that already has neighbors close on both sides. That context changes the job. The physics of keeping water out of a wall assembly don't change from one project to another, but the site conditions, the tie-ins to existing structures, and the coordination required on a tight, sloped, tree-covered lot are a different problem than framing windows into a wide-open new build.
This page covers new-construction window installation specifically for Happy Valley projects: what the neighborhood's terrain and tree cover mean for window performance, what a correct install involves whether you're building an ADU or adding a floor, and why the details matter more here than they would on a simpler, open lot.
Why Happy Valley's Terrain and Tree Cover Change the Job
Salt Air Doesn't Stop at the Waterfront
Bellingham's marine air moves inland well past the shoreline, and hillside neighborhoods like Happy Valley still see steady exposure to salt-tinged moisture even though they're set back from the bay. Over years, that air is hard on window hardware, fasteners, and lower-grade flashing metal, which is why we don't treat corrosion resistance as an optional upgrade on a new opening. It's cheap insurance at the framing stage and expensive to fix once the wall is closed up.
Wind-Driven Rain on Sloped Lots
Rain in this part of Whatcom County rarely falls straight down, and sloped lots common to Happy Valley can actually intensify how wind pushes rain sideways into an upper-story wall or a window set high on a new addition. A sill pan and flashing sequence that would be forgiving on a single-story, wide-open lot has less room for error on a taller addition or a home positioned to catch more of the prevailing wind off the terrain around it.
Shade, Mature Trees, and a Long Moss Season
Established neighborhoods like Happy Valley tend to have more mature tree cover than a freshly cleared new-build site, and that shade keeps walls and window sills damp longer after every rain. Moss and mildew growth follows that moisture, especially on north-facing new construction tucked under overhanging trees. A new window opening that isn't detailed to drain fully and quickly is starting its life with a head start toward exactly the kind of slow moisture problem a new build should be designed to avoid.
New Construction, Not a Retrofit: Why That Distinction Matters Here
Whether you're adding a bedroom over the garage, building a detached ADU, or replacing a torn-down house with a new one, a fresh window opening in new framing should get a true new-construction window with a nailing fin, not a retrofit or insert unit designed to slip into an already-finished wall. The nailing fin fastens directly to the stud framing and becomes part of the wall's drainage plane once it's integrated with the water-resistive barrier and flashing. That only works correctly while the framing is still open, which is exactly the situation an addition or ADU project gives you. Using an insert-style window on new framing, or rushing the flashing sequence because the rest of the addition is behind schedule, throws away the one real advantage a new opening has over a repair.
Getting the Flashing Sequence Right When You're Building Onto an Existing House
Most Happy Valley projects involve tying new window openings into a wall, roofline, or wrap that's already there, which is a step a ground-up subdivision build doesn't have to deal with.
The Sill Pan Still Comes First
Every opening starts with a properly formed, outward-pitched sill pan, regardless of whether it's on a brand-new wall or an addition tying into an old one. A flat sill or a bead of caulk standing in for real drainage is the single most common shortcut we see cause trouble down the road, and it's just as avoidable on a small addition as on a full new build.
Tying New Flashing Into an Existing Water-Resistive Barrier
On an addition, the new wall's housewrap and flashing have to lap correctly into the existing house's WRB at the seam where old meets new, not just butt up against it. That transition point is where a lot of hidden leaks on additions actually start, because it's easy to treat it as a trim detail instead of the drainage-plane detail it actually is. We treat that tie-in with the same care as any other flashing step, since it's the seam most likely to be tested by wind-driven rain first.
Working Carefully on a Tight, Occupied Lot
An addition or ADU project usually means working close to an existing, occupied home, sometimes with neighboring properties just a few feet away on either side. Scaffolding, staging, and material storage all have to be planned around a tighter footprint than an open new-build lot allows, and protecting the existing structure, the yard, and the neighbors' property from construction debris and weather exposure during the work is part of doing the job right, not an afterthought.
New Infill Home, Second-Story Addition, or ADU: How the Window Work Differs
| Project Type | What's Different About the Window Work | Main Risk If Rushed |
|---|---|---|
| New infill home (teardown/rebuild) | Full new envelope, but often on a tighter or sloped lot than a typical new subdivision build | Site access and staging shortcuts that compromise flashing quality |
| Second-story addition | New openings tie into an existing roofline and WRB; upper-story walls see more direct wind-driven rain | A poor tie-in seam at the old-to-new wall transition |
| Detached ADU | Fully new, small envelope, usually on a shaded back or side yard with limited equipment access | Treating a "small job" casually and skipping steps that matter regardless of size |
| Room addition on grade | New sill and jamb flashing often ties into existing foundation and siding details | Water tracking behind old siding at the connection point if it isn't re-flashed properly |
Whatever the project type, the underlying standard doesn't change: sill pan first, fin fastened per spec, WRB and flashing tape lapped in the correct order, head flashing last. What changes is how much care the tie-in points and site logistics need to get there.
Energy Code and Glazing Choices Under Tree Cover
New-construction windows anywhere in Washington have to meet the U-factor and performance minimums in the state energy code, and that applies the same way to a Happy Valley ADU as it does to a new home anywhere else in the county. Where the neighborhood's tree cover actually matters is glazing selection beyond the code minimum: a heavily shaded elevation under mature trees has a very different solar heat gain profile than a sun-exposed south wall on the same project, and the low-E coating package that makes sense for one doesn't automatically make sense for the other. We'll go over the U-factor and NFRC ratings on whatever window package is specified so you know exactly what you're getting before the wall closes in around it.
Our Process for Happy Valley Projects
- Plan and site review: We look at the window schedule alongside the actual lot — slope, tree cover, access points, and how the new framing ties into the existing structure — before work starts.
- Scheduling around the build and the site: Windows go in once rough openings are framed and before siding closes the wall, coordinated with whoever's managing the broader project.
- Sill pan, window set, and fin fastening: Each opening gets a pitched sill pan, a square and plumb window set, and a nailing fin fastened per manufacturer spec with corrosion-resistant hardware.
- Flashing and WRB integration, including tie-ins: Sill, jamb, and head flashing are lapped correctly at every opening, with extra attention at any seam where new framing meets an existing wall or roofline.
- Site protection throughout: On tighter Happy Valley lots, that means keeping material staging, scaffolding, and debris contained so the existing home, yard, and neighboring properties aren't affected by the work.
- Pre-siding walkthrough and final check: We inspect every opening before siding crews close it in, then do a final walkthrough of operation and hardware once trim and siding are complete.
Cost Factors on Happy Valley Window Projects
| Factor | What It Affects | Why It Comes Up Here |
|---|---|---|
| Site access and slope | Staging, equipment, and labor time | Sloped, established lots common in Happy Valley often have narrower access than an open new-build site |
| Tie-in complexity on additions | Extra flashing and WRB work at the old-to-new seam | Getting this transition wrong is one of the most common sources of hidden leaks on additions |
| Number and size of openings | Material and labor cost | ADUs and additions can range from a couple of openings to a full new window package |
| Tree cover and site protection | Setup and cleanup time | Mature trees common on established lots mean more debris and moisture management during construction |
| Frame material and glazing package | Unit cost and long-term performance | Shaded versus sun-exposed elevations on the same project can call for different glazing choices |
Real pricing depends on the specific project, which is why we walk the lot and review the plans before quoting rather than estimating off a generic per-window number.
Why Hiring a Crew That Already Works Happy Valley Matters
A crew that's installed new-construction windows on additions, ADUs, and infill builds throughout Happy Valley already knows how a sloped, tree-covered lot behaves differently from an open new-build site, and how to tie new flashing into an existing wall without leaving a weak seam behind the siding. That experience shows up in decisions that matter but aren't always obvious from the outside: where extra flashing attention pays off on a shaded elevation, how to stage a job on a tight lot without disrupting the rest of the property, and how to coordinate with whoever's managing the broader addition or build so the window work doesn't become the bottleneck. It also means you're working with someone who understands the neighborhood's specific mix of terrain, tree cover, and older housing stock instead of applying a generic new-build checklist to a project that isn't one.
A Practical Checklist Before Your Windows Go In
- Is the rough opening framed square, plumb, and sized correctly for the specified window unit?
- Is the sill pan pitched to drain outward rather than left flat?
- If this is an addition, is the new WRB properly lapped into the existing house's water-resistive barrier at the tie-in seam?
- Is the nailing fin fastened per manufacturer spec with corrosion-resistant fasteners?
- Is flashing tape integrated with the WRB in the correct shingle-lap order at sill, jambs, and head?
- Is head flashing or a drip cap installed above each opening?
- Do the specified windows meet current Washington State Energy Code requirements?
- Has a plan been made to protect the existing structure, yard, and neighboring property during the work?
If you're planning an addition, an ADU, or a new build on a Happy Valley lot and want the window openings flashed right the first time, we're glad to walk the site and review your plans with you or your builder. Use the form below to request a free, no-pressure estimate.