 Bellingham
 Birch Bay sits close enough to the water that its siding problems look different from what we see on a typical Bellingham street a few miles inland. Salt-laden air, wind-driven rain off the Strait, and long stretches of shaded, damp shoulder seasons all work on exterior walls in ways that show up as soft spots, streaking, and premature paint failure years before a homeowner expects it. If you're dealing with damaged, discolored, or failing siding on a Birch Bay home, the fix isn't just patching what's there — it's understanding why that section failed in the first place so the repair actually holds.
Why Birch Bay Siding Takes a Harder Hit
Whatcom County's coastal edge exposes homes to a combination of stressors that inland siding rarely faces all at once. Salt air accelerates corrosion on fasteners, flashing, and any exposed metal trim, which in turn lets water find its way behind panels that look fine from the ground. Wind-driven rain off the water pushes moisture sideways into laps, seams, and butt joints instead of letting it run straight down, so caulking and overlap details that would be adequate elsewhere start to fail here. And Birch Bay's long moss season — cool, damp, and often shaded by mature trees — means organic growth gets a foothold on north-facing walls and anything close to grade, trapping moisture against the siding surface for months at a time.
None of this means Birch Bay siding is doomed to fail. It means the repair has to account for the actual exposure of that wall, not just match color and move on.
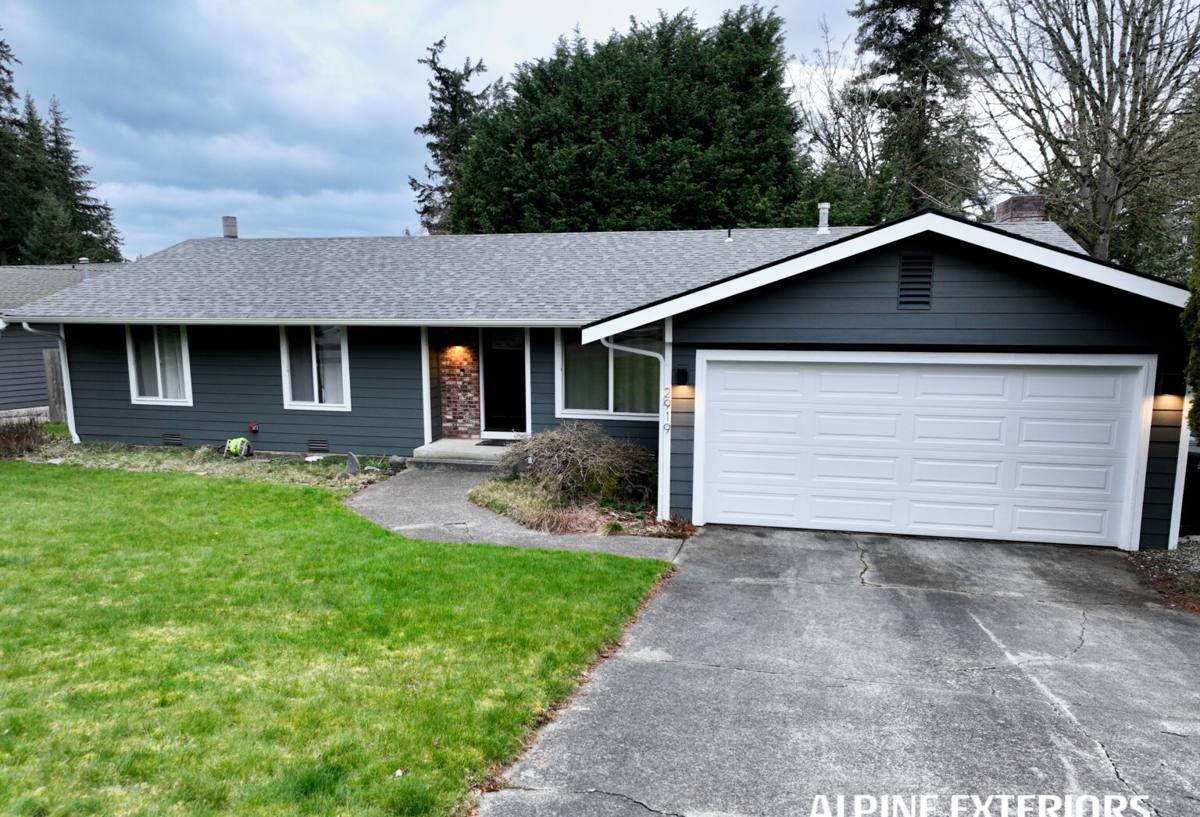
What We Typically Find During a Birch Bay Repair Call
Every home is different, but certain patterns repeat often enough on this stretch of coastline that we can usually predict where the damage will be before we even get a ladder out.
| What Homeowners Notice | Likely Cause | What the Repair Requires |
|---|---|---|
| Soft, spongy siding near the bottom edge | Wind-driven rain wicking into end grain or damaged caulk joints | Remove and replace affected panels, check sheathing behind for rot |
| Green or black staining, especially on shaded walls | Moss and algae holding moisture against the surface | Clean, inspect for softening underneath, treat and reseal |
| Rust streaks below nail heads or trim | Salt air corroding fasteners or flashing | Replace corroded fasteners and flashing, not just cosmetic touch-up |
| Paint peeling or bubbling in patches | Trapped moisture pushing through from behind | Trace and fix the moisture source before repainting |
| Warped or buckled panels | Repeated wet-dry cycling on materials not rated for it | Section replacement, often with a more weather-stable material |
The common thread is that surface symptoms are almost always downstream of a moisture problem. Painting over stains or caulking over a soft spot buys a season, maybe two, before it comes back worse.
Repair or Replace? How We Make the Call
Not every damaged section needs a full re-side, and we don't push a whole-house replacement when a targeted repair will genuinely hold up. But we also won't patch a wall that's going to fail again in a year just to make a smaller invoice. Here's what we actually weigh:
- How much of the wall is affected — a few boards versus a whole elevation changes the math
- Whether the sheathing or framing behind the siding shows rot, not just the visible surface
- The age and condition of the surrounding siding — patching a 20-year-old product that's near the end of its life is a short-term fix
- Whether a matching replacement material is still available, or close enough in profile and color to blend
- How exposed that specific wall is to wind-driven rain, salt spray, or shade-driven moss growth
- Your plans for the home — a repair makes sense if you're staying put for a few more years; a full re-side may pay off faster if you're planning further out
What a Correct Siding Repair Actually Involves
A repair that's done right starts before anyone touches a panel. We pull the damaged section and look at what's underneath — the weather-resistive barrier, the sheathing, the flashing details around windows and penetrations — because siding damage in a coastal environment is frequently a symptom of a flashing or sealant failure, not a defect in the siding itself. Skipping that step is how homeowners end up paying for the same repair twice.
Once we know what we're dealing with, correct repair work means:
- Removing damaged material back to solid, dry substrate — not just the visibly stained boards
- Repairing or replacing any compromised weather barrier or flashing before new siding goes back on
- Using corrosion-resistant fasteners suited to a salt-air environment
- Matching reveal, profile, and finish so the repair doesn't stand out as a patch
- Re-sealing joints and penetrations with products rated for sustained wet exposure, not general-purpose caulk
Our Process for Birch Bay Homes
We start with an on-site inspection, not a phone estimate, because the extent of hidden moisture damage is impossible to judge from a description or photos. From there we walk the homeowner through what we found, what caused it, and what the repair will involve — including whether we found anything that changes the scope, like rot in the sheathing that a simple panel swap wouldn't address. We handle the removal, any necessary sheathing or barrier repair, and the reinstallation, and we clean up debris as we go rather than leaving it for the end. If moss or algae growth is part of the problem, we address the underlying moisture and shade conditions where we can, since a fresh panel installed over the same conditions will just grow moss again.
Why the Material We Patch With Matters
We install and repair with James Hardie fiber cement exclusively — we don't work in vinyl, LP SmartSide, Cemplank, Allura, primed spruce, or cedar. That standard matters even more on a repair call than on new construction, because it determines what we can honestly offer a Birch Bay homeowner. Vinyl and older wood-composite sidings are frequently discontinued or off-color within a few years of installation, which means a "repair" on those materials often turns into mismatched patchwork that's obvious from the street. Hardie's ColorPlus factory-finish system and long production run make it far more likely we can match an existing section cleanly, and where a full section needs replacing, fiber cement holds up to the wind-driven rain and salt air here better than the wood-based or vinyl products it's replacing, without the moisture absorption or heat-warping issues those materials carry.
When a homeowner has vinyl, LP, or cedar siding failing in a Birch Bay-exposed location, we'll say so plainly: a like-for-like patch may be the cheaper short-term move, but if that section is going to keep failing in this environment, we'll walk through what a Hardie section replacement looks like instead, and let the homeowner decide with real numbers in front of them.
Why Local Experience in Birch Bay Matters
A crew that only sees Birch Bay a few times a year tends to treat every repair like a generic inland job — patch the visible damage, caulk the seams, repaint, done. A crew that works this stretch of Whatcom County regularly knows which walls take the worst of the wind-driven rain based on lot orientation, which shaded north sides need moss treatment worked into the repair, and which fastener and flashing choices actually hold up to salt air instead of corroding again in a few seasons. That experience shows up less in the sales pitch and more in what's still standing five years later.
Keeping Your Repaired Siding From Needing Repair Again
A good repair should buy years, not months. A few habits make a real difference on a Birch Bay property:
- Keep gutters and downspouts clear so runoff doesn't sheet down the siding face
- Trim back vegetation that keeps a wall shaded and damp, especially on north- and west-facing sides
- Walk the exterior after major storms and check caulking around windows, doors, and trim for gaps
- Rinse off moss and algae buildup before it has a chance to hold moisture against the surface for months
- Address small paint or caulk failures promptly rather than waiting for them to turn into a moisture problem
If you're seeing soft spots, staining, or failing paint on your Birch Bay home, we're glad to take a look and give you a straight answer on what's causing it and what it'll take to fix — no pressure, no upsell. Use the form below to request a free estimate.